AAC (autoclaved aerated concrete) blocks are popular in modern construction for their sustainability, insulation, and lightweight. Made from cement, lime, sand, water, and aluminum powder, they undergo a precise manufacturing process for high-quality results.
This article will explore the AAC block manufacturing process in great detail, from the preparation of raw materials to the final quality control tests, offering an in-depth look at how these innovative building blocks are made.
Choosing and Preparing Raw Materials
The final characteristics of AAC blocks are significantly influenced by the quality of the raw components. The secret to getting the blocks to have the appropriate mechanical and physical properties is maintaining uniformity in the material composition.
1. Cement
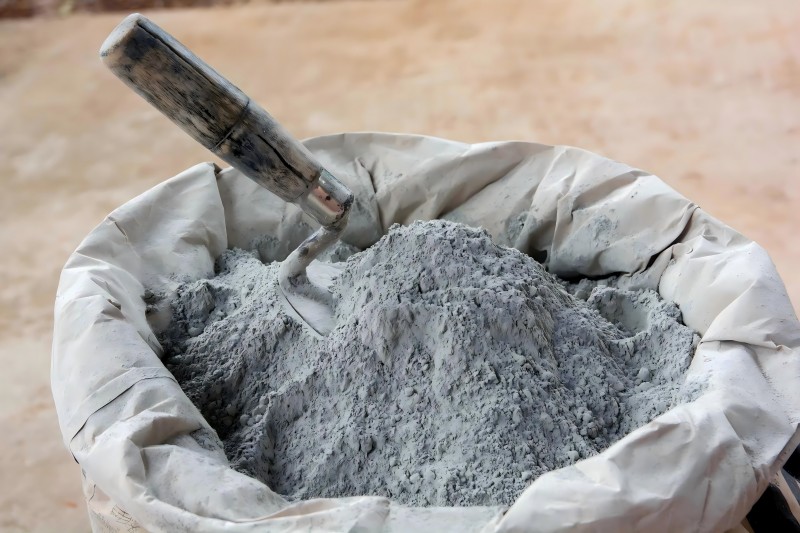
Cement acts as the primary binder in AAC blocks, contributing to the block’s strength. Because of its high compressive strength and short setting time, ordinary Portland cement (OPC), in particular OPC 53 Grade, is the most widely utilized type of cement. Before use, the cement is tested for fineness, specific gravity, and consistency to ensure it meets the required standards. Silos are used to store cement in order to keep it dry and prevent moisture from reducing its quality.
-
- Fineness: Cement fineness influences the rate of hydration and, in turn, the pace at which strength is developed. More surface area for hydration in finer cement results in a quicker increase in strength.
- Setting Time: It’s important to note when cement sets initially and finally. The initial setting time should be long enough to allow the slurry to be cast into molds, while the final setting time should be short enough to ensure that the blocks are sufficiently hardened for the cutting process.

2. Lime
Lime plays a vital role in the AAC block manufacturing process by participating in the chemical reactions that form calcium silicate hydrates, which contribute to the strength and stability of the blocks. Lime can be used in either quicklime (calcium oxide) or hydrated lime (calcium hydroxide) form, depending on the manufacturing setup. Before use, lime is processed to ensure it has the correct particle size, typically between 45 and 75 microns, as the fineness of lime affects the reactivity and strength of the final blocks.
- Quicklime: Calcium oxide is created in a kiln by heating limestone, or calcium carbonate, to create quicklime. Because of its high reactivity, it needs to be stored carefully to avoid absorbing moisture from the air, which might degrade its quality.
- Hydrated Lime: The addition of water to quicklime produces calcium hydroxide. It is less reactive than quicklime but easier to handle and store.
3. Sand or Fly Ash
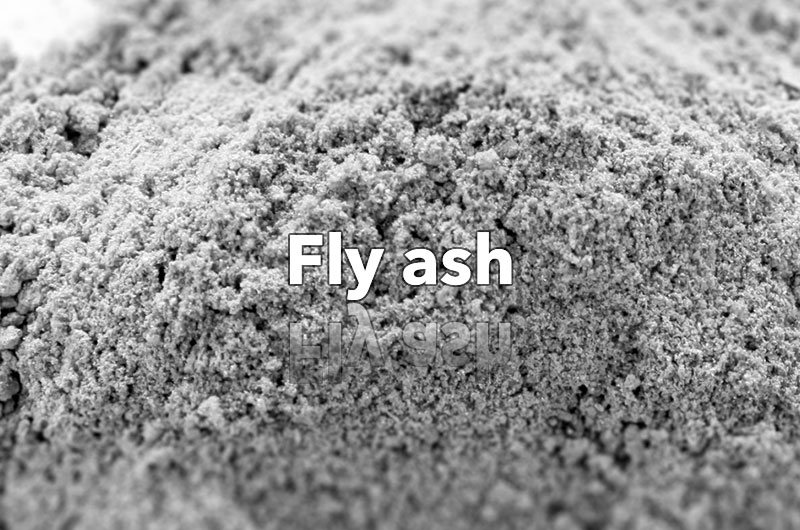
Sand or fly ash serves as the primary aggregate in AAC blocks, providing bulk and influencing the overall strength of the block. Fly ash is often favored due to its environmental benefits, as it is a by-product of coal-fired power plants. The selection of sand or fly ash depends on availability, cost, and desired block properties. The material is finely ground in a ball mill to achieve the appropriate fineness, ensuring that it can react efficiently with the other components during the autoclaving process.
- Sand: There should be no organic debris or clay in the sand that is utilized. It is typically processed to a fineness of 200 mesh.
- Fly Ash: Fly ash must be of high quality, with low carbon content and fine particle size, to ensure it reacts well with lime during the autoclaving process.
4. Gypsum
Gypsum acts as a retardant in the AAC mixture, regulating the setting time and improving the overall workability of the mix. Additionally, it strengthens the blocks by encouraging the synthesis of calcium sulfate hydrates. Gypsum is added in small quantities, typically around 2-5% of the total mix, and is thoroughly mixed with the other raw materials to ensure uniform distribution.
5. Aluminum Powder or Paste
The aluminum powder or paste is the key component responsible for creating the porosity in AAC blocks.
- The hydrogen gas forms tiny bubbles throughout the mixture, causing the slurry to expand and creating the porous structure of the AAC blocks.
- The amount of aluminum powder used must be carefully controlled to achieve the desired porosity without compromising the strength of the blocks. Typically, around 0.05% to 0.08% by weight of the dry mix is used.

Mixing of Raw Materials
Mixing is a crucial step in the AAC manufacturing process, as it ensures that all raw materials are evenly distributed and that the chemical reactions necessary for block formation occur uniformly.
- Dry Mixing: The process begins with the dry mixing of the cement, lime, gypsum, and finely ground sand or fly ash. These materials are added in specific proportions, usually determined by the desired density and strength of the final blocks. Dry mixing ensures that all solid components are thoroughly combined before water is introduced.
- Water Addition: Water is added to the dry mix to create a slurry. The amount of water used is carefully controlled, as too much or too little can affect the workability of the mixture and the quality of the final blocks. Typically, the water-to-solid ratio is kept between 0.6 and 0.65.
- Addition of Aluminum Powder: The aluminum powder is added once the slurry has formed. It’s mixed uniformly into the slurry to ensure consistent gas formation throughout the mixture. This step must be carried out quickly and efficiently, as the aluminum begins reacting with the lime almost immediately, causing the mixture to start expanding.
- Mixing Time and Speed: The entire mixing process is time-sensitive. The mixture is typically mixed for 3 to 5 minutes at a controlled speed to ensure homogeneity without overmixing, which could affect the gas formation.
Casting the Slurry
After mixing, the slurry is poured into molds where it begins to expand and rise. This casting process requires precision to ensure uniform expansion and even density distribution.
- Mold Preparation: The molds used for casting the slurry are typically made from steel and are treated with a release agent to prevent the mixture from sticking. These molds are designed to hold the slurry as it expands and sets, forming the green cake that will later be cut into blocks.
- Pouring the Slurry: The slurry is poured into the molds using automated machinery that ensures a consistent and even distribution. The molds are filled to a certain level, allowing room for the mixture to expand as the aluminum powder reacts and produces hydrogen gas.
- Expansion: The expansion of the slurry occurs as the aluminum reacts with the lime and water, producing hydrogen gas. This process creates millions of tiny air bubbles throughout the mixture, giving the blocks their characteristic cellular structure. The expansion typically increases the volume of the mixture by up to 50%.
- Setting Time: The slurry is allowed to set for several hours after pouring. During this time, the hydrogen gas gradually escapes, and the mixture solidifies into a soft but stable “green cake.” The setting time can range from 2 to 4 hours, depending on the ambient conditions and the composition of the mixture.
- Surface Leveling: After the expansion process is complete, the surface of the green cake is leveled using a specialized tool. This ensures that the blocks have a uniform thickness and flat surfaces, which are essential for easy handling and precise cutting.
Pre-curing
The pre-curing stage is essential for allowing the green cake to gain enough strength to withstand handling during the cutting process. Pre-curing usually happens in a closely monitored setting with precisely controlled temperature and humidity.
- Temperature Control: The pre-curing process takes place at ambient or slightly elevated temperatures, usually between 35°C to 40°C. Maintaining a consistent temperature ensures uniform curing throughout the cake and prevents cracking or deformation.
- Humidity Control: Humidity levels are also controlled during pre-curing to prevent the green cake from drying out too quickly, which could cause surface cracks or uneven curing. Typically, humidity levels are kept between 50% and 70%.
- Duration: The pre-curing process usually lasts between 2 to 4 hours, depending on the specific conditions and the composition of the mix. The green cake must achieve sufficient hardness to withstand the forces applied during the cutting process.
During this stage, the green cake gains sufficient strength for handling, but it remains soft enough to be easily cut into the desired block sizes.
Cutting the Cake
Once the green cake has been pre-cured, it is transported to the cutting section, where it is cut into individual blocks. The cutting process is highly automated and requires precision to ensure that the blocks are uniform in size and shape.
- Horizontal and Vertical Cutting: The green cake is cut into blocks using high-tensile wires that slice through the material both horizontally and vertically. The cutting wires must be kept in perfect alignment to prevent uneven cuts or damage to the cake.
- Size Options: The blocks are cut to standard sizes, such as 600 mm x 200 mm x 100 mm, but custom sizes can also be produced to meet specific project requirements.
If you want to know more about brick sizes, you can read this article: A Complete Guide to AAC Block Sizes: Small, Medium, and Large
- Minimizing Waste: During the cutting process, any excess material, known as “cake scraps,” is removed and recycled back into the production process. By doing this, waste is reduced and the production process is made as sustainable and efficient as feasible.
- Edge Trimming: After the primary cutting process, the edges of the blocks may be trimmed to remove any irregularities and ensure that all blocks are within the specified dimensional tolerances.
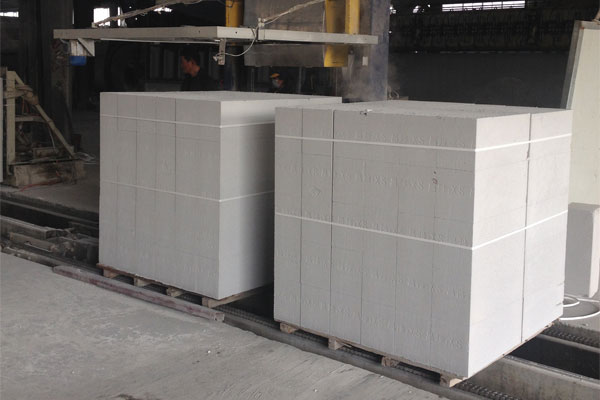
Autoclaving
Autoclaving is the most critical stage in the AAC block manufacturing process, where the blocks undergo high-pressure steam curing to achieve their final strength and durability. This process involves subjecting the cut blocks to high-pressure steam at elevated temperatures in large autoclave chambers.
- Loading the Autoclave: The cut blocks are carefully loaded onto autoclave trolleys, which are then wheeled into the autoclave chambers. The trolleys are designed to hold the blocks in place during the steam curing process, preventing them from shifting or warping.
- High-Pressure Steam Curing: Once the blocks are loaded into the autoclave, the chamber is sealed, and high-pressure steam is introduced. The temperature inside the autoclave can reach up to 180°C, and the pressure can rise to 12 bars. The blocks are subjected to these conditions for 8 to 12 hours, depending on the specific recipe and desired properties.
- Formation of Calcium Silicate Hydrates: The high temperature and pressure inside the autoclave accelerate the chemical reactions between the lime, cement, and silica components in the blocks. The main substances that give AAC blocks their strength are calcium silicate hydrates (C-S-H), which are created as a result of these processes.
- Completion of the Process: After the autoclaving process is complete, the blocks are slowly cooled inside the chamber to avoid thermal shock, which could cause cracking. When the blocks have cooled, they are removed from the autoclave and ready for the next action.
De-Molding and Finishing
After the autoclaving process is complete, the blocks are removed from the molds and allowed to cool to room temperature. At this stage, the blocks have achieved their final strength and are ready for the finishing process.
- De-Molding: The blocks are carefully de-molded from the steel or aluminum molds. Since the blocks have been autoclaved, they are now hard enough to be handled without breaking or chipping.
- Surface Finishing: The surface of the blocks is smoothed to remove any roughness or imperfections. Sanders or other finishing tools can be used for this, depending on the project’s particular needs.
- Edge Trimming: The edges of the blocks may be further trimmed to ensure they meet the specified dimensions and tolerances. This is particularly important for blocks that will be used in precision applications where tight tolerances are required.
Quality Control and Testing
Quality control is an integral part of the AAC block manufacturing process, with multiple tests conducted at various stages to ensure that the blocks meet industry standards and client specifications.
1. Density Testing
The density of the blocks is tested to ensure that it falls within the specified range, typically between 500 and 800 kg/m³. Density affects the block’s thermal insulation, strength, and overall performance in construction applications.
2. Compressive Strength Testing
Since it dictates how much weight an AAC block can support, compressive strength is an important characteristic. Blocks are subjected to compressive strength tests to ensure they meet the required standards, usually between 2.5 to 4 MPa.
3. Testing for Thermal Insulation
The outstanding heat resistance of AAC bricks is widely recognized. Thermal conductivity tests are conducted to ensure that the blocks provide the expected level of insulation, helping to reduce heating and cooling costs in buildings.
4. Water Absorption Testing
Water absorption tests are carried out to determine the block’s resistance to moisture. Blocks with low water absorption are preferred in areas prone to heavy rainfall or moisture exposure, as they help prevent dampness and structural damage.
5. Dimensional Accuracy
Dimensional accuracy tests ensure that the blocks conform to the specified dimensions, with tolerances typically within ±2 mm. Accurate dimensions are crucial for ensuring a tight fit during construction, reducing the need for additional mortar or adjustments.
Packaging and Dispatch
Once the blocks have passed all quality control checks, they are ready for packaging and dispatch. Proper packaging ensures that the blocks are protected during transportation and arrive at the construction site in perfect condition.
- Palletizing: The blocks are stacked onto wooden or plastic pallets, with each pallet holding a specific number of blocks based on their size and weight. Palletizing makes it easier to transport and handle the blocks.
- Wrapping: The pallets are wrapped in plastic stretch film or other protective materials to prevent damage during transit. The wrapping also helps keep the blocks clean and free of dust and debris.
- Labeling: Each pallet is labeled with important information such as block size, batch number, manufacturing date, and any special handling instructions. It is feasible to ensure that the appropriate blocks are delivered to the correct location by using this information.
Finally, the pallets are loaded onto trucks or other transportation vehicles and dispatched to customers or construction sites. The packaging and dispatch process is carefully managed to ensure that the blocks are delivered on time and in good condition.
Conclusion
The AAC block manufacturing process is a complex and highly controlled operation that involves multiple stages of raw material selection, mixing, casting, curing, cutting, autoclaving, and finishing. In order to guarantee that the blocks fulfill the necessary requirements for strength, durability, and performance, every step of the process is closely observed.